

How many times have you sliced apples, doused them in lemon juice yet they still turn brown an hour later?
That used to happen to me, but not any more. Not since I discovered a simple tip that keeps my apple (or pear) slices looking just the way they looked when I initially sliced them, even 4-6 hours hours later!


The other day I had a women's group meeting at my house. The meeting was called for 9:30 in the morning, so along with coffee and muffins I decided to serve some fresh apple slices and cheddar cheese.
I sliced the apples and stored them in a baggy in the refrigerator for about 3 hours before I served them.
However, I did do one other thing that kept them from turning brown when I sliced them.
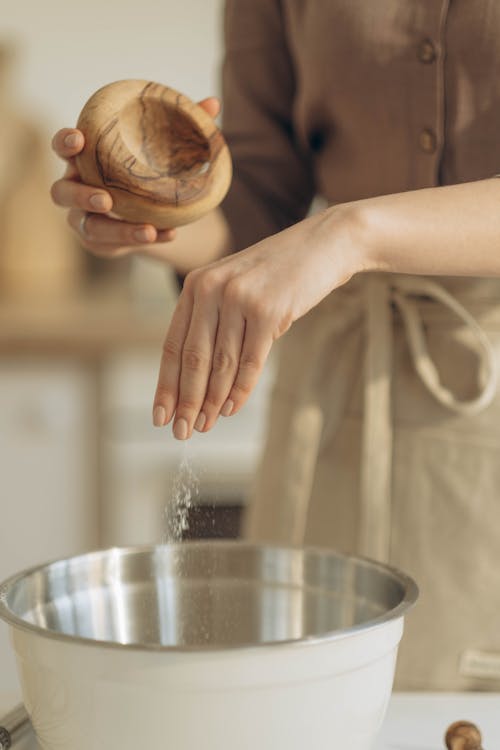
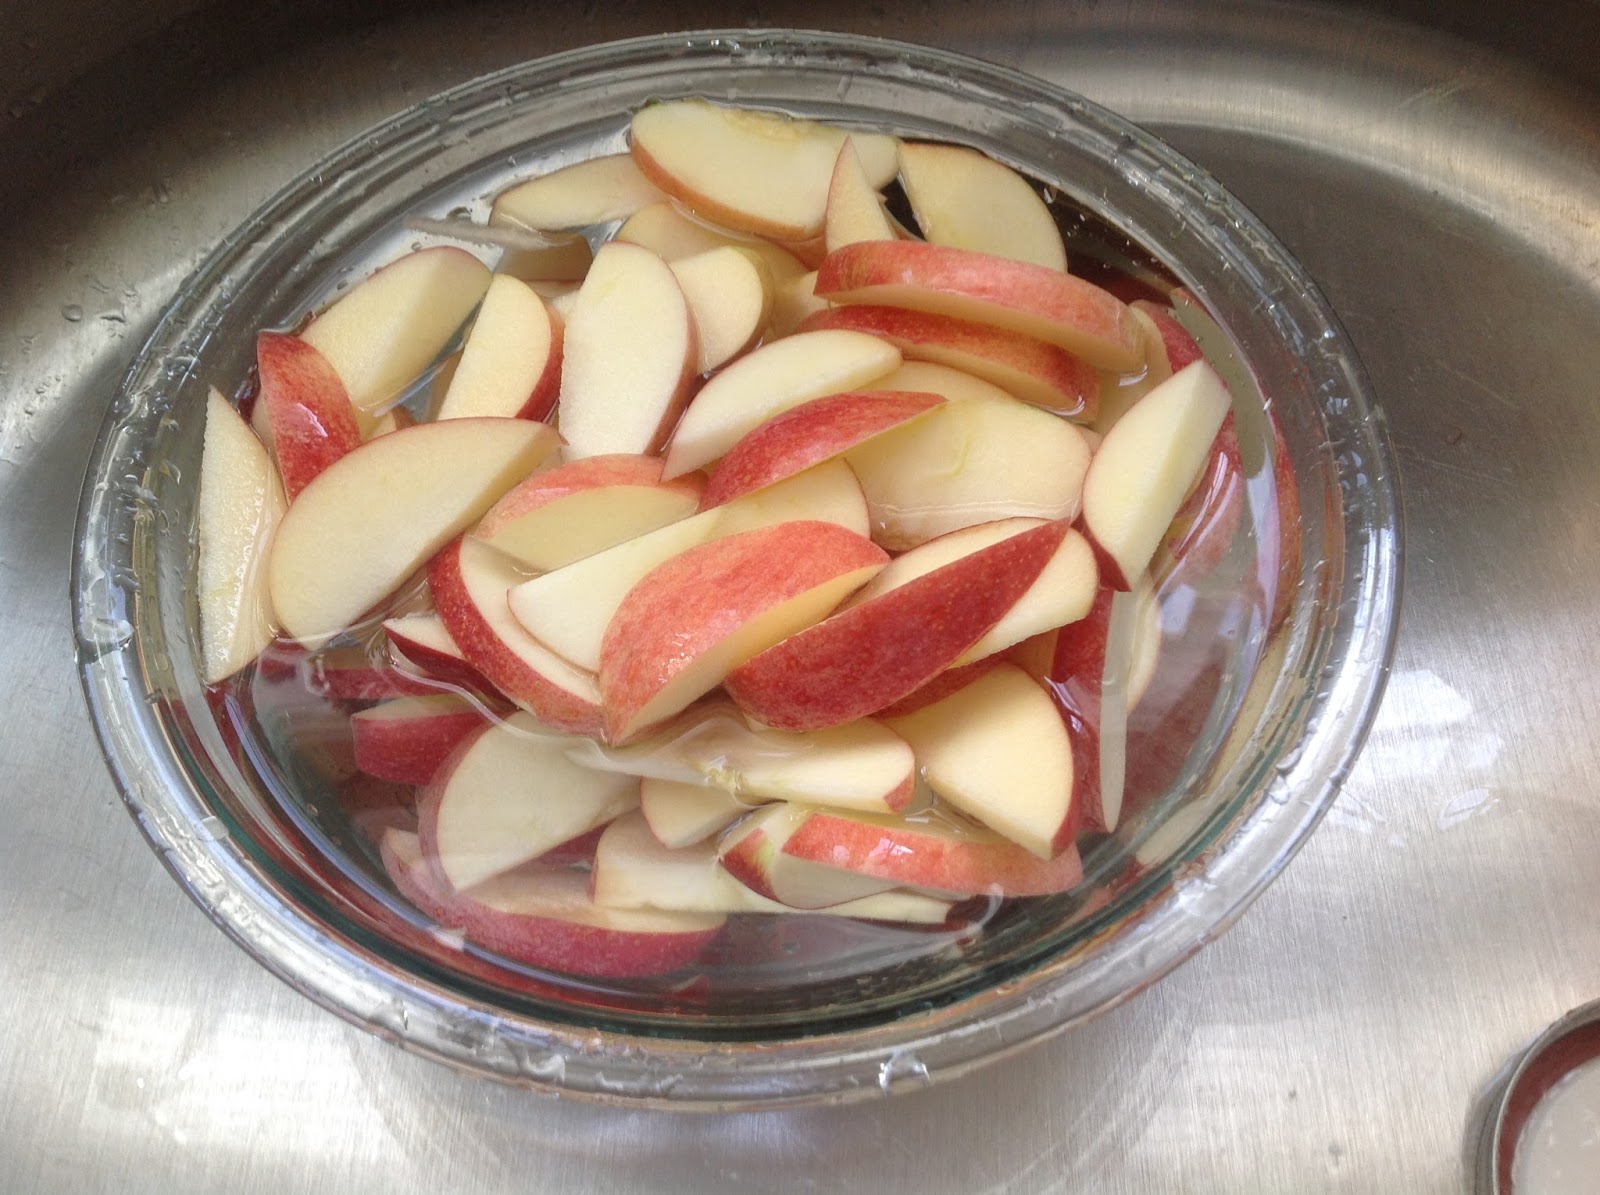
As I was slicing them, I tossed the apple slices into a large bowl of water to which I had added salt. YES- you read that correctly- good old regular table salt.
The slices were only in the salt water for about three minutes before I rinsed them and placed them on a plate. Four hours later, the apples slices were still crispy, nice, and white!
I'm not a scientist, so I don't know why it works, it just does.
The salt water soak keeps the apples or pears from turning brown whether you are planning to pack them in a lunch box, serve them at a party, or freeze them in a baggy for future use in smoothies!
Don't worry. The fruit does not taste salty!
The salt water soak keeps the apples or pears from turning brown whether you are planning to pack them in a lunch box, serve them at a party, or freeze them in a baggy for future use in smoothies!
Don't worry. The fruit does not taste salty!
Pre-cut in the supermarket ?- chemicals !!!!
Pre-cut vegetables and fruit that are sold in the supermarket are usually washed in a chlorine bath to kill bacteria. Chlorine? Is that good for us? NO!!
Perhaps the pre-cut are convenient, especially for school lunches, but is it worth the chemical consumption especially for our kids?
This is a great tip that I use, and I hope you will try it too!
What could be easier?
What could be easier?
If you do try it, let me know how it works for you-
P.S.- One of my reader's mentioned that it works for potatoes too!!!
Apple Recipes:
Homemade Apple Pie Filling (recipe link) very easy and healthy
Directions for the apple wash below
Author: Judee Algazi @ Gluten Free A-Z Blog
Prep Time: 5-7 minutes
Cook Time: None
Ingredients:
4 Gala Apples or apples of your choice
Full bowl of water (about 10 cups)
1 teaspoon of salt per cup of water
Directions
In a medium- large mixing bowl add water to top and 1 teaspoon of salt per cup of water and stir.
Slice the apples or pears and toss them into the salt bath as you cut. Continue until all apples are cored and sliced. Add fresh water to the bath, (spilling out the old water) and then drain and wash well. Pat dry and store slices in the refrigerator covered in plastic wrap or in a baggy until you are ready to eat or serve them. The slices can also be frozen for future use in smoothies.

 |
| Rinse your apples or pears well tossing to remove any salt residue |
 |
| I freeze organic pears and apples for smoothies! |
My Notes:
1. I do not peel the apples or pears because I use organic fruit. If you prefer, peel your fruit before freezing, especially if you want to use it for an apple cake or pie. I usually use my slices in a smoothie.
2. I am not a baker so I cannot say that frozen fruit will work for baking. However, I went online and so some posts that say you can! Let me know if you try it or know it works!

Linking to Beth Fish Reads Weekend Cooking where anyone can share a food related post.

Who knew? :) I'm so happy to learn this. I have used lemon juice and lemon lime type soda. I found the soda worked better than the lemon juice, but notas good as this! Thanks for sharing with SYC.
ReplyDeletehugs,
Jann
Jann,
DeleteI hope it helps , it works every time for me..
I'm 82 never to old to learn.. thanks
DeleteIt sure does I also like you just found it out by accident 👍salt,!!
DeleteThis is really cool! My apples always turn brown and gross so I'm totally try this next time I slice them!
ReplyDeleteThanks so much for linking up with us for Healthy Vegan Fridays! I’m Pinning and sharing!
It's a great tip and your apples are going to start looking great!
DeleteInteresting. I'm going to try this, but I have to buy salt. I don't usually keep it in the house,
ReplyDeleteGo get that salt- this recipe works for apples and pears!
DeleteJudee, That is a great tip. Thanks for sharing. Sylvia D.
ReplyDeleteSylvia,
DeleteI felt the same way the first time I found out about it. Hope you get to use it!
What a great tip! Never heard of this :)
ReplyDeleteIt was a first for me too, and it works the best of everything that I've tried!
DeleteThanks for this great tip! Please come share it at Family Joy Blog Linkup too! http://pursueyourproject.com/family-joy-blog-link-up-43/
ReplyDeleteglad you stopped by and thanks for the invite
DeleteThanks for the tip!
ReplyDeleteHi Judee,
ReplyDeleteWhat a great tip for keeping the apples from turning brown and thanks so much for sharing with Full Plate Thursday. Hope you had a great week and come back soon!
Miz Helen
Miz, Helen,
DeleteIt has been the perfect tip for making sliced apples and serving them for an appetizer with a dip
What an amazing tip! This changes everything!! No more wasted brown apple slices! Thanks for sharing this!
ReplyDeleteGood for you.. think of me when you use it!
DeleteCome grab our featured button at Family Joy Blog linkup this Sunday! Congrats!
ReplyDeleteI'll be over.. thanks for the feature!!
DeleteThanks for sharing this tip on apples! I pinned this.
ReplyDeleteThanks for sharing at Monday's Cooking and Crafting with J&J.
We hope to see you again.
Julie
You are right, I never knew this. Thanks for the tip!
ReplyDeleteGood tips - thanks! Cheers
ReplyDeleteTotally works totally I do this for my husband so he has snacks to eat for lunch
ReplyDeleteSon of a gun! I have been looking for a solution to browned apples and pears for YEARS! Thanks so much for sharing this!
ReplyDeleteThat seems like a large amount of salt. I was expecting to see teaspoons and I then saw 1/4 of a cup. Is that much salt needed or have you ever cut back on the salt. ?? I previous just put my peeled apples in cold water. I was making the popular Snickers Apple Salad. I will try the salt on something that I'm making just for my husband and I. Thanks for sharing. **
ReplyDeleteThis is a reply to Judy from Judee the Admin of the blog: Hi Judy. Thanks for your comment. 1/4 cup is 12 teaspoons. I edited and re-wrote the post to say 1 tsp of salt per cup of water. You might be able to do less. If you reduce the amount and it works, let me know!!
ReplyDeleteI've been doing this for the last week and am thrilled with the results. My husband and I are eating more healthy apples and he has even taken to prepare them and personally handcarry a portion to me at my desk!
ReplyDeleteBy the way, we have experimented with the amount of salt and 1/2 tsp per cup of water seems to work for us without changing the flavor of the apples! Thanks again for this tip! It is amazing!
The salt cauterizes (seals) the pores of the apple or pear slices so the oxygen cannot get to it to make it brown
ReplyDeleteThanks! I love understanding what the actual process is that makes this work’
DeleteHi that is the oldest trick from when my grandmother was alive. It is an awsome trick, andxeorks hood fir school lunches, picnics , and tossing in fruit salads.
ReplyDeleteEnjoy everyone . A H.
Interesting. This is good to know. Thanks.
ReplyDeleteVisiting today from SSPS 227 #56&67
Never knew, for sure will try this as we use a lot of apples, and usually I end up eating more just to make sure that they do not turn brown.
ReplyDeleteThank you for sharing your links with us at #277 SSPS Linky. See you again next week.
Congratulations, your post will be featured on Monday. See you at InLinkz 278 Senior Salon Pit Stop.
ReplyDeleteGreat idea! Will try for sure!
ReplyDeleteWorks for potatoes too!
ReplyDeleteI learned to do this while cooking with my mother when I was about twelve years old. She was 42 then and had been doing this for years. I will soon be 80 and still treating apples this way. Good idea that never gets old.
ReplyDeleteThank you so so so much as my apple slices or chunks have been runing many fruit salad’s for years. You are the best! Did I say Thank You so much
ReplyDeleteI use lite salt. Will that work as well. Never have regular salt at home
ReplyDeleteI have never tried it . Light salt has half of the salt of regular salt. It might work. Not sure.
DeleteWhen working in the hot lunch program in my local school district, we used this method all the time. It never failed.
ReplyDeleteI use lemon-lime soda to prevent browning. Soak sliced apples for 5-10 minutes. Drain (do not rinse) and store in zip-lock bag. This keeps apple fresh for many days…even a couple of weeks.
ReplyDelete